


Hey there! If you're into DIY projects and love accessorizing your hair, then learning how to make hair ties with woven elastic is a game - changer. I'm a woven elastic supplier, and I'm super excited to share this awesome DIY with you.
Why Woven Elastic for Hair Ties?
First off, let's talk about why woven elastic is the bomb for making hair ties. Woven elastic is durable, stretchy, and comes in a variety of colors, patterns, and widths. It can withstand a lot of pulling and stretching without losing its shape, which is perfect for hair ties that are going to be used daily.
Compared to other types of elastic, like knitted elastic, woven elastic has a more structured feel. It doesn't roll or twist as easily, so your hair ties will look neat and professional. Plus, with the wide range of designs available, you can create hair ties that are unique and match any outfit.
Materials You'll Need
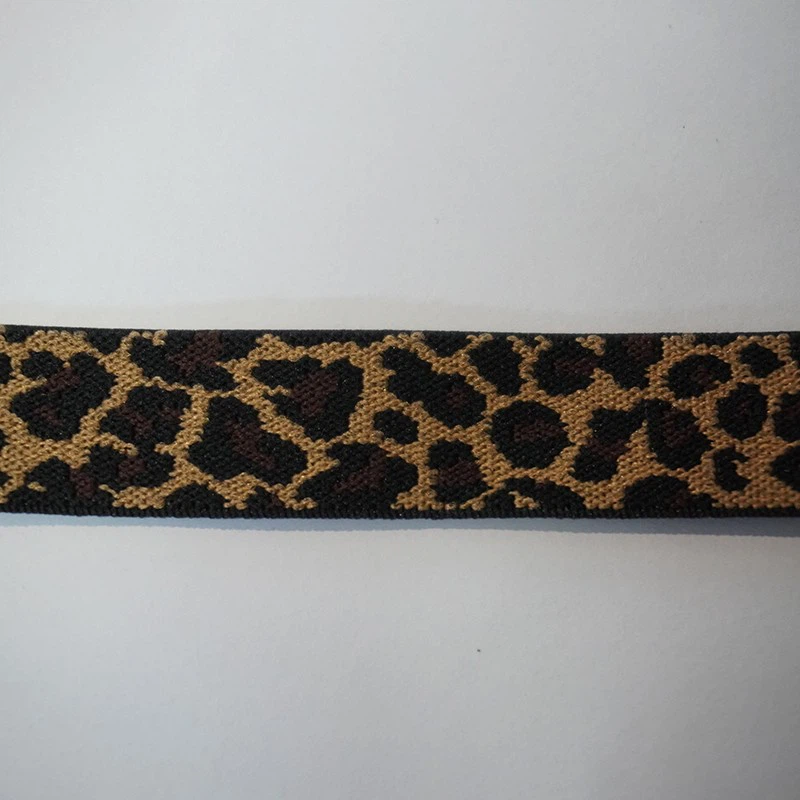
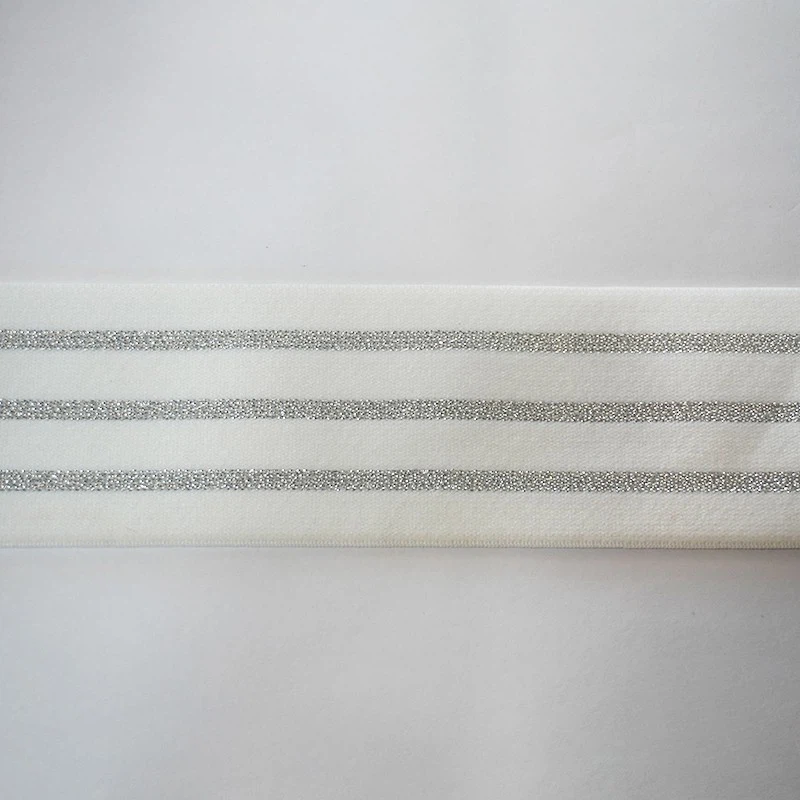
- Woven Elastic: You can choose from different widths and patterns depending on your preference. For example, 50mm Polyester Elastic is great for making chunky, statement hair ties, while a thinner elastic can be used for more delicate ones. Leopard Print Elastic adds a fun and trendy touch, and Jacquard Elastic offers intricate and beautiful designs.
- Scissors: A sharp pair of scissors will make cutting the elastic clean and easy.
- Lighter or Flame Source: This is used to seal the ends of the elastic to prevent fraying.
- Clasp or Fastener: You can use a small metal or plastic clasp to join the ends of the elastic and form a loop. There are different types of clasps available, like lobster clasps or crimp beads.
Step - by - Step Guide to Making Hair Ties
Step 1: Measure and Cut the Elastic
Decide on the length of your hair tie. A good starting point is to measure around your ponytail area and add a little extra for overlap. For a regular - sized hair tie, about 8 - 10 inches (20 - 25 cm) is usually enough. Use your scissors to cut the woven elastic to the desired length.
Step 2: Seal the Ends
Take the lighter and carefully hold the end of the elastic close to the flame. Move it around slowly so that the end melts and seals. Be careful not to burn the elastic too much, or it will become brittle. Do the same for the other end of the elastic.
Step 3: Attach the Clasp
If you're using a lobster clasp, open the clasp and slide one end of the elastic through the small loop at the end of the clasp. Then, fold the elastic back on itself and use a crimp bead (if needed) to secure it in place. You can use a pair of pliers to crimp the bead tightly. Do the same for the other end of the elastic, attaching it to the other side of the clasp.
If you're using a different type of fastener, like a snap or a hook - and - loop, follow the manufacturer's instructions for attaching it to the elastic.
Step 4: Adjust and Test
Once the clasp is attached, check the length of the hair tie and make sure it fits comfortably around your hair. You can adjust the length by trimming a little more elastic if it's too long or adding a bit more if it's too short. Try putting the hair tie in your hair to see how it looks and feels.
Tips and Tricks
- Mix and Match Patterns: Don't be afraid to combine different patterns and colors of woven elastic to create unique and eye - catching hair ties. You can make a multi - colored or multi - patterned hair tie by sewing or gluing different pieces of elastic together.
- Add Embellishments: You can make your hair ties even more special by adding beads, sequins, or fabric flowers. Use a hot glue gun or a needle and thread to attach the embellishments to the elastic.
- Make a Batch: Making hair ties is a fun and easy DIY project, so why not make a whole bunch at once? You can give them away as gifts or sell them at a local craft fair.
Why Source from a Woven Elastic Supplier?
As a woven elastic supplier, I can offer you a wide range of options that you might not find in your local craft store. I have access to high - quality materials at a competitive price. Buying in bulk from a supplier can save you money in the long run, especially if you're planning to make a lot of hair ties.
I also ensure consistent quality. Every batch of elastic is carefully inspected to make sure it meets the highest standards. You can rely on me to provide you with elastic that is durable, stretchy, and looks great.
Moreover, I can offer customization options. If you have a specific design or color in mind, I can work with you to create a custom - made woven elastic just for your hair tie project.
Contact for Purchase and Collaboration
If you're interested in purchasing woven elastic for your hair tie projects or have any questions about the materials, feel free to reach out. Whether you're a DIY enthusiast, a small business owner, or a large - scale manufacturer, I'm here to help you find the perfect elastic for your needs. Let's start creating amazing hair ties together!
References
- DIY Hair Tie Guides from Popular Craft Blogs
- Woven Elastic Manufacturer's Product Guides
So, there you have it! Now you know how to make hair ties with woven elastic. It's a fun, easy, and affordable way to add some style to your hair. So, grab some woven elastic and start creating today!