


Hey there! As a woven elastic supplier, I'm super stoked to share with you how to make a woven elastic border. Whether you're into DIY projects, a professional seamstress, or just someone looking to add a unique touch to your creations, this guide is for you.
What You'll Need
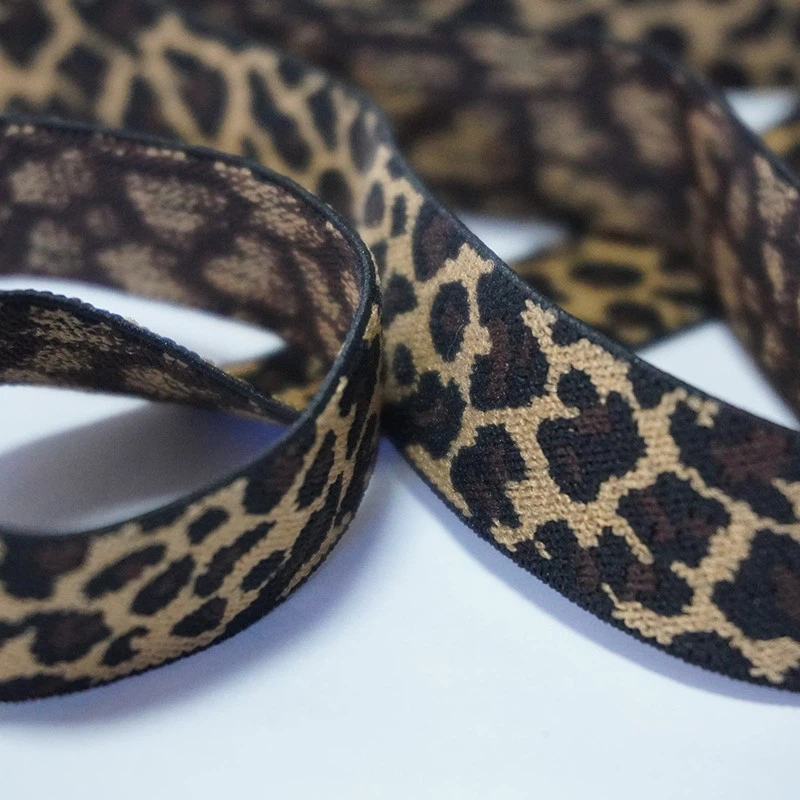
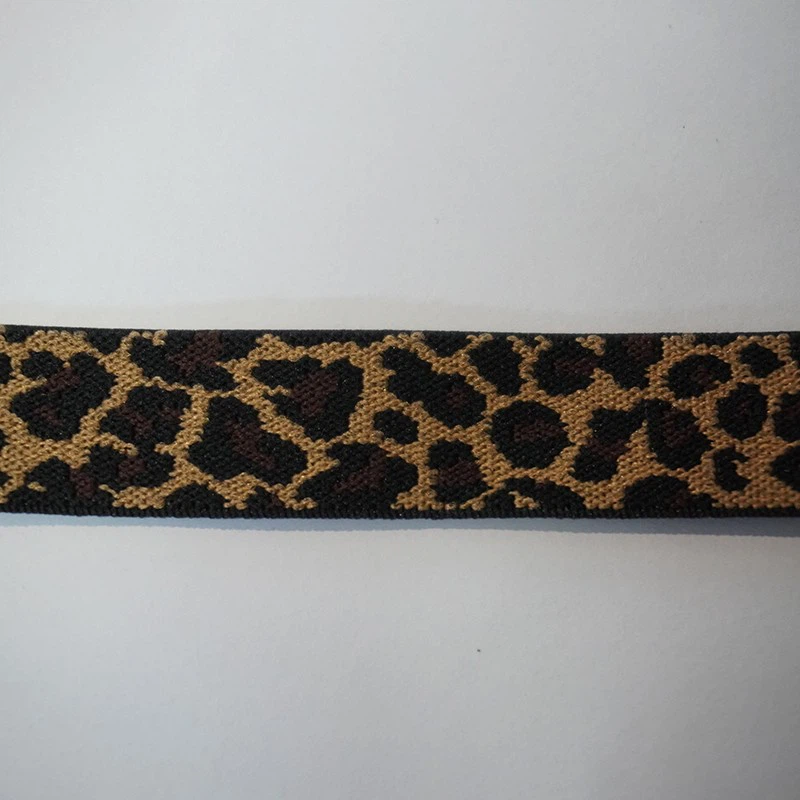
First things first, let's talk about the materials and tools you'll need. You'll obviously need woven elastic. We offer a wide range of options, like the Silicone Elastic Band, Leopard Print Elastic, and Printed Elastic Band. These elastics come in different widths, colors, and patterns, so you can choose the one that suits your project best.
Apart from the woven elastic, you'll need a sewing machine. If you don't have one, a needle and thread will do the job, but it'll take a bit more time and effort. You'll also need scissors to cut the elastic and your fabric, a measuring tape to get the right lengths, and pins to hold everything in place while you sew.
Measuring and Cutting the Elastic
The first step in making a woven elastic border is to measure the area where you want to add the border. Use your measuring tape to get the exact length and width. Make sure to add a little extra length to the elastic, about an inch or two, to account for any stretching or adjustments you might need to make.
Once you've measured the elastic, use your scissors to cut it to the right length. Be careful to make a straight cut, as a crooked cut can make your border look uneven. If you're using a patterned elastic, like the Leopard Print Elastic, make sure to align the pattern so it looks good when you attach it to the fabric.
Preparing the Fabric
Before you attach the elastic to the fabric, you need to prepare the fabric. If the edges of the fabric are frayed, you can use a serger or a zigzag stitch on your sewing machine to finish the edges and prevent them from fraying further. This will make your border look neater and more professional.
If you're working with a thick or heavy fabric, you might want to press the edges of the fabric with an iron to make them easier to work with. You can also use a stabilizer or interfacing to add some support to the fabric, especially if you're using a stretchy elastic.
Attaching the Elastic to the Fabric
Now it's time to attach the elastic to the fabric. There are a few different ways to do this, but one of the most common methods is to sew the elastic directly to the edge of the fabric. Start by pinning the elastic to the fabric, making sure to stretch the elastic slightly as you pin it. This will help the elastic fit snugly around the fabric and prevent it from bunching up.
Once you've pinned the elastic to the fabric, use your sewing machine to sew along the edge of the elastic, close to the edge of the fabric. You can use a straight stitch or a zigzag stitch, depending on the type of fabric and elastic you're using. If you're using a stretchy elastic, a zigzag stitch is usually a better choice, as it will allow the elastic to stretch without breaking the stitches.
As you sew, make sure to keep the elastic stretched evenly and the fabric flat. You might need to adjust the tension on your sewing machine to get the right stitch length and width. If the stitches are too tight, the elastic might not stretch properly, and if the stitches are too loose, the elastic might come loose from the fabric.
Finishing the Border
Once you've sewn the elastic to the fabric, you can finish the border by trimming any excess elastic or fabric. Use your scissors to cut the elastic and fabric flush with the edge of the border. You can also use a serger or a zigzag stitch to finish the edges of the border and prevent them from fraying.
If you want to add a decorative touch to your border, you can use a different colored thread or a decorative stitch on your sewing machine. You can also add some beads, sequins, or other embellishments to the elastic to make it more unique and eye-catching.
Tips and Tricks
Here are a few tips and tricks to help you make a perfect woven elastic border:
- Test the Elastic: Before you attach the elastic to the fabric, test it to make sure it stretches and contracts properly. You can do this by stretching the elastic a few times and then letting it go. If the elastic doesn't return to its original shape or if it breaks, you might need to use a different elastic.
- Use a Walking Foot: If you're using a thick or heavy fabric, a walking foot can help you sew the elastic to the fabric more evenly. A walking foot will feed the fabric and the elastic through the sewing machine at the same rate, preventing the fabric from bunching up or stretching.
- Stretch the Elastic Evenly: As you sew the elastic to the fabric, make sure to stretch the elastic evenly. This will help the elastic fit snugly around the fabric and prevent it from bunching up or looking uneven.
- Take Your Time: Making a woven elastic border takes time and patience. Don't rush the process, and make sure to take breaks if you need to. This will help you avoid making mistakes and ensure that your border looks its best.
Conclusion
Making a woven elastic border is a great way to add a unique and functional touch to your DIY projects. Whether you're making a skirt, a pillow, or a tote bag, a woven elastic border can make your project look more professional and stylish. By following the steps and tips in this guide, you'll be able to make a perfect woven elastic border every time.
If you're interested in purchasing woven elastic for your next project, we'd love to hear from you. We offer a wide range of woven elastic options, including the Silicone Elastic Band, Leopard Print Elastic, and Printed Elastic Band. Contact us to discuss your requirements and get a quote. We're here to help you bring your creative ideas to life!
References
- Sewing for Beginners: A Comprehensive Guide
- The Complete Book of Elastic and Stretch Fabrics