


Repairing a broken plain elastic can be a straightforward process if you have the right tools and know - how. As a plain elastic supplier, I've seen various scenarios where customers face issues with their elastic bands and need solutions. In this blog, I'll guide you through the steps to repair a broken plain elastic, ensuring that your elastic regains its functionality.

Understanding Plain Elastic
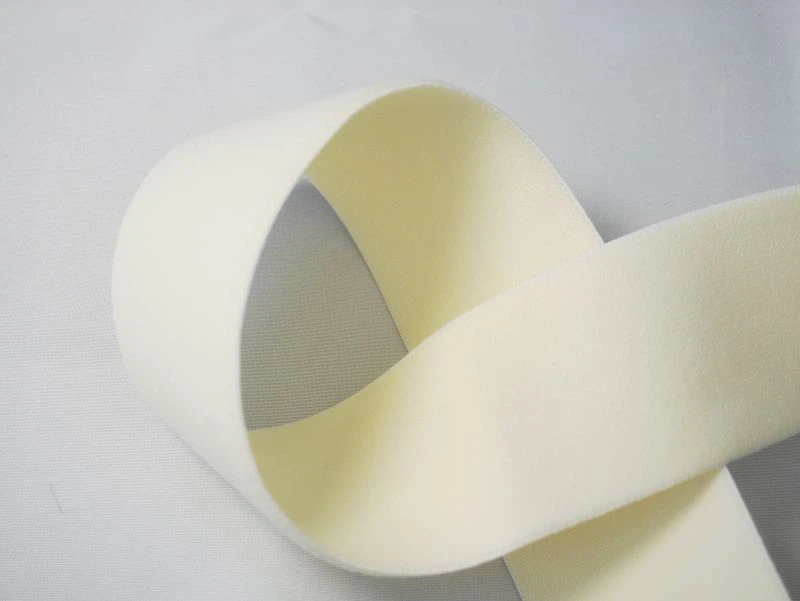
Before we dive into the repair process, let's understand what plain elastic is. Plain elastic is a type of elastic band that has a simple, unadorned design. It is commonly used in a wide range of applications, such as clothing, bedding, and craft projects. You can find different materials and colors of plain elastic, including the White Nylon Elastic, which is known for its strength and durability, and the Leopard Print Elastic for a more decorative touch. If you're looking for a basic, reliable option, the Plain Elastic is a great choice.
Tools and Materials Needed
To repair a broken plain elastic, you'll need the following tools and materials:
- Scissors: A sharp pair of scissors to cut the elastic to the desired length.
- Needle and Thread: Choose a thread that matches the color of the elastic for a more seamless repair.
- Safety Pins: These will help you thread the elastic through fabric or other materials.
- Measuring Tape: To measure the correct length of the elastic.
Step - by - Step Repair Process
Step 1: Assess the Damage
The first step is to carefully examine the broken elastic. Determine where the break occurred and if there is any fraying or damage to the surrounding area. If the break is clean, it will be easier to repair. However, if there is significant fraying, you may need to cut off the damaged portion to ensure a strong repair.
Step 2: Cut the Elastic
If the break is near the end of the elastic, you may only need to trim a small amount. Measure the length of the elastic that you need for your project. Use the measuring tape to ensure accuracy. Then, use the scissors to cut the elastic to the appropriate length. Make sure the cut is clean and straight.
Step 3: Prepare the Ends
Once you've cut the elastic, you need to prepare the ends for sewing. If the elastic has frayed, you can use a lighter to carefully singe the ends. Be extremely cautious when using a lighter, as elastic is flammable. This will prevent further fraying and make it easier to sew the ends together.
Step 4: Sew the Ends Together
Take the needle and thread and tie a knot at the end of the thread. Thread the needle through one end of the elastic and then through the other end. Make a few stitches to secure the two ends together. You can use a simple running stitch or a whipstitch for a more secure hold. Make sure the stitches are tight and evenly spaced. After a few stitches, tie a knot to secure the thread.
Step 5: Thread the Elastic
If the elastic needs to be threaded through fabric or another material, attach a safety pin to one end of the elastic. This will act as a guide. Carefully thread the elastic through the fabric or the channel where it needs to be placed. Once the elastic is in place, remove the safety pin.
Step 6: Secure the Elastic
If the elastic is being used in a project where it needs to be attached to fabric, you can use the needle and thread to sew the ends of the elastic to the fabric. Make sure to sew the elastic firmly in place to prevent it from coming loose.
Tips for a Successful Repair
- Use the Right Thread: As mentioned earlier, choose a thread that matches the color of the elastic. This will make the repair less noticeable.
- Test the Elastic: After you've completed the repair, test the elastic to make sure it has the right amount of stretch and that the repair is holding up.
- Be Patient: Repairing elastic requires precision and patience. Take your time to ensure that each step is done correctly.
Troubleshooting
If you encounter any issues during the repair process, here are some common problems and solutions:
- Elastic is Too Loose: If the elastic is too loose after the repair, you may need to cut off a small portion and re - sew the ends together.
- Elastic Breaks Again: If the elastic breaks again after the repair, it could be due to a weak stitch or damaged elastic. Cut off the damaged portion and repeat the repair process.
When to Replace the Elastic
In some cases, it may be more practical to replace the elastic rather than repair it. If the elastic is old, worn out, or has significant damage, it may not hold up well after a repair. Additionally, if the elastic has lost its stretch and no longer provides the necessary tension, it's best to replace it with a new one.
Contact Us for Your Elastic Needs
As a plain elastic supplier, we offer a wide range of high - quality plain elastic products. Whether you need elastic for clothing, home decor, or craft projects, we have the right solution for you. If you have any questions about our products or need assistance with your elastic repair projects, feel free to contact us for more information. We're here to help you find the perfect elastic for your needs and provide expert advice on repairs and usage.
References
- "Textile Handbook" - A comprehensive guide on textile materials and repair techniques.
- Online tutorials on elastic repair from various craft and sewing websites.